
Mailrelay offers various editors. In each one, you can add your subscribers' names to your newsletters to personalize them further.
With the name variable, each subscriber sees their own name in your newsletter, even if you send the same email to your whole list. You can use it in your email marketing campaigns with the free account.
Before you start
For the name to appear in the email:
- Your subscribers have the Name field filled in. You can include it when you import your subscriber list or add it later when you edit each subscriber.
- If a subscriber has no name, the variable is left empty in their email.
Add the name with the Paste code editor
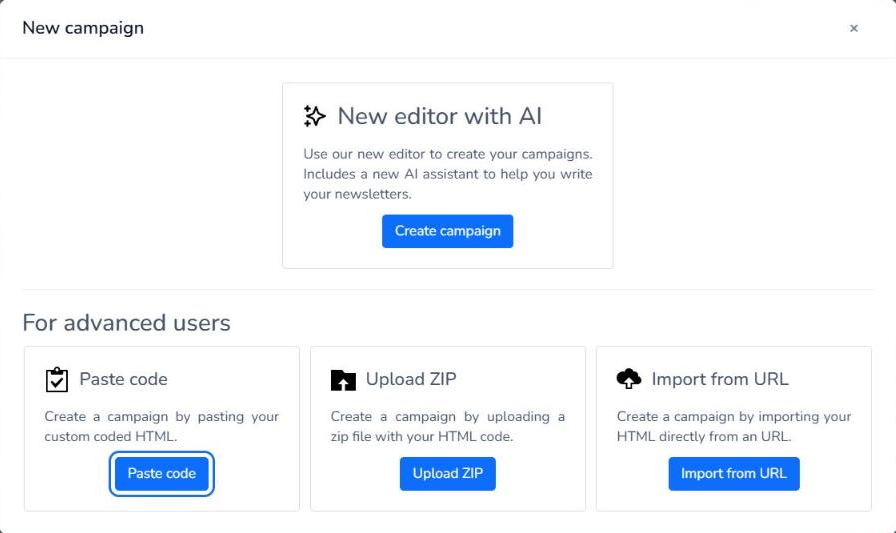
When adding a campaign, you can choose the Paste code editor.
You will find it in Campaigns > Campaigns: click Add and, in For advanced users, click Paste code.
Adding a variable
When you import your contact list, you can include your subscribers' names. Then you can add them to your emails.
Edit the text block, place the cursor where you want the name and open the Variables drop-down. In the Subscriber section, choose Name.
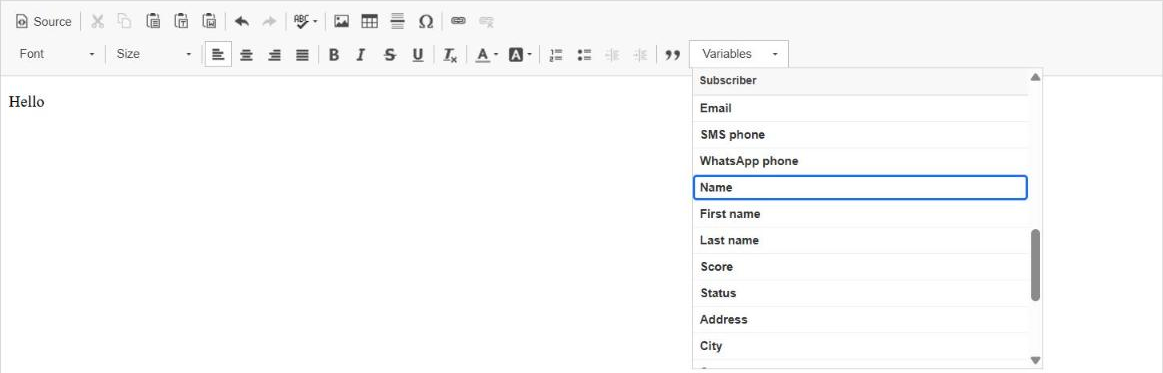
If you follow these steps correctly, the tag will be added to your text:

And when you send the email campaign, this variable {{ subscriber.name }} will be replaced with the subscriber's name.
Add the name with the AI editor
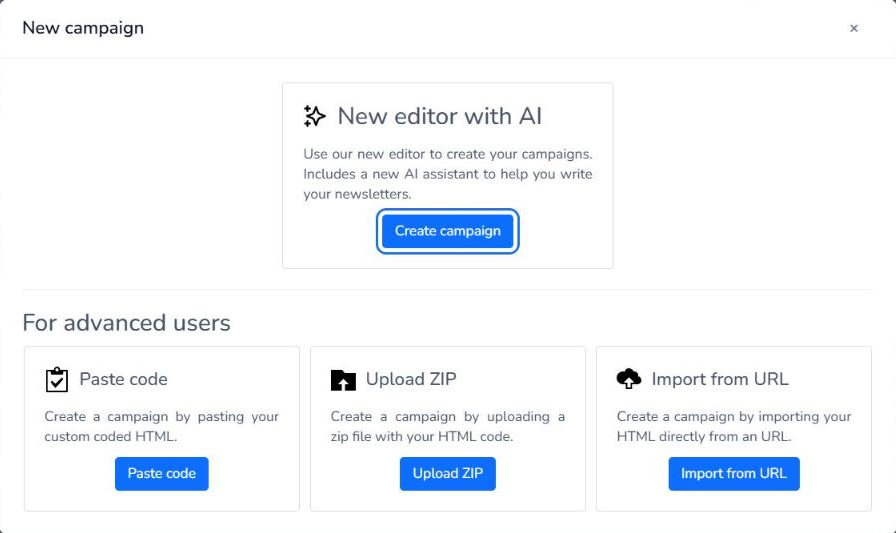
To open this editor, in Campaigns > Campaigns, click Add and, in New editor with AI, click Create campaign.
Add a variable using the AI editor:
Click on "Variables" and search for the "Name" variable in the "Subscriber" section, for example. Click on it to select the name variable (you can use other variables as well).
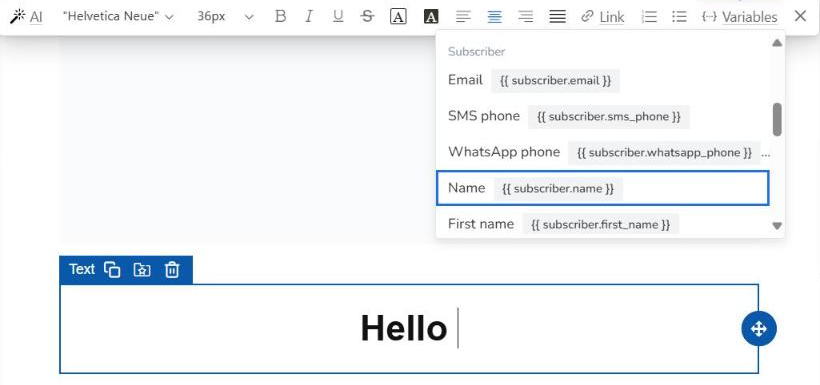
When you click the Name variable, it is added to the text as a tag:
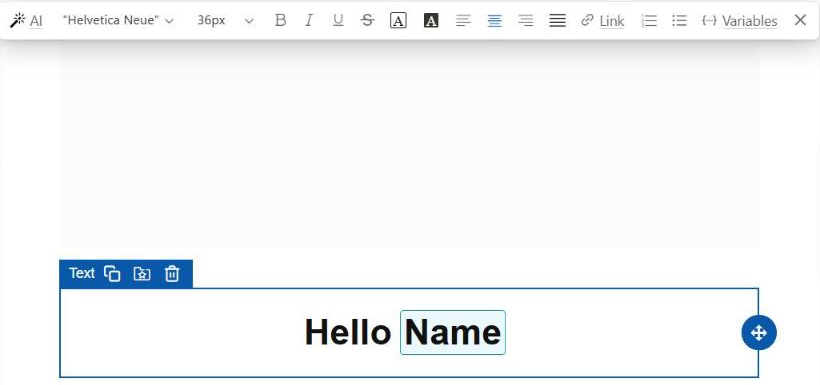
When you send the campaign, it is replaced with each subscriber's name.
Add the name to the subject
With the New editor with AI, you can also put the name in the subject of your newsletter, for example "Hello {{ subscriber.name }}":
- In the campaign, click Edit in the Subject section.
- Click Add variables and, in Subscriber, choose Name. The {{ subscriber.name }} variable is added to the subject.
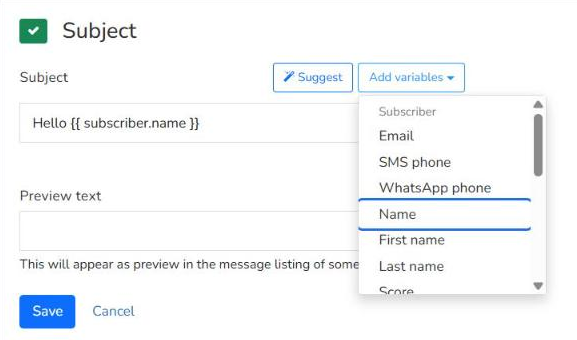
- Click Save.
In the Paste code editor, the Subject field has no variables button.
Check the name with a test email
Before your mass email sending, send a test to an email on your subscriber list that has the Name filled in. In the test email, the variable is replaced with that subscriber's name.
To send the test, see how to send a campaign.
Frequently asked questions
These are the most common questions about adding the contact name.
What happens if a subscriber has no name?
The variable is left empty. For example, if the subject is "Hello {{ subscriber.name }}, we have news", that subscriber receives "Hello , we have news".
Can I add other subscriber data?
Yes. In the same variables menu, the Subscriber section has other data, such as Email or Last name. To use them, and also your custom fields, see how to personalize the subject and content with variables.
Can I add the name with the free account?
Yes. You can use variables in both editors with the free account, the same one you use for your mailings and email marketing campaigns.